Temporary Wheelchair Accessible Flooring
Wheelchair accessible flooring can be a common problem for individuals who use manual wheelchairs. Carpeting and unleveled floor transitions between rooms often create physical barriers and can reduce, or even prevent, access into a room. Rental apartments magnify the challenge because these homes are more likely to contain carpet in the bedrooms, leaving tenants with few options to enhance accessibility. Is the landlord responsible for removing the carpet and replacing it with a more accessible laminate or vinyl flooring? If the landlord changes the flooring to accommodate the tenant, is the tenant responsible for replacing the carpet at the end of the lease? Installing a floating laminate floor on top of the carpet eliminates these issues because it is cost effective, reversible and can be a temporary or short-term solution.
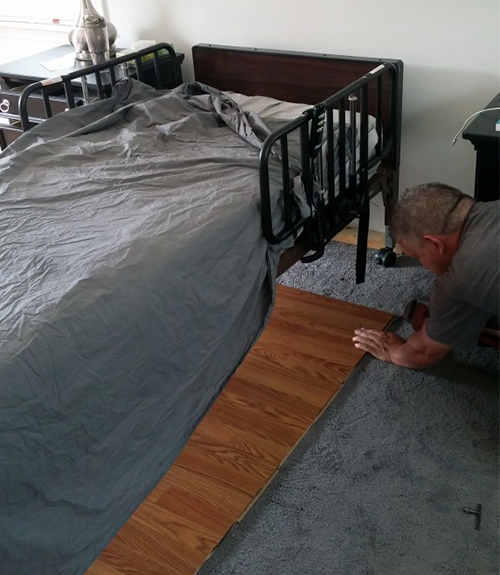
Our task was to locate rental housing for an individual with a spinal cord injury. The most appropriate rental was accessible with the exception of the master bedroom, which was carpeted. Mobility with a manual wheelchair over carpeting was one challenge; difficulty with bed-to-wheelchair transfers – even with the assistance of a caregiver – was another. We ordered an overhead lift but a temporary solution was needed in the interim. Accessible Housing Services does not typically provide contractor services, however, in this situation we were able to install temporary flooring, resolving the accessibility challenge of the carpeted bedroom. Two of us completed the project in two hours.
How to install a floating laminate floor system
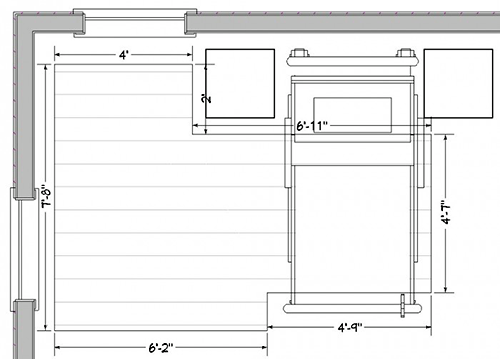
Determine the dimensions of the wheelchair accessible floor.
Step 1: Determine size of floor needed
There are three primary considerations:
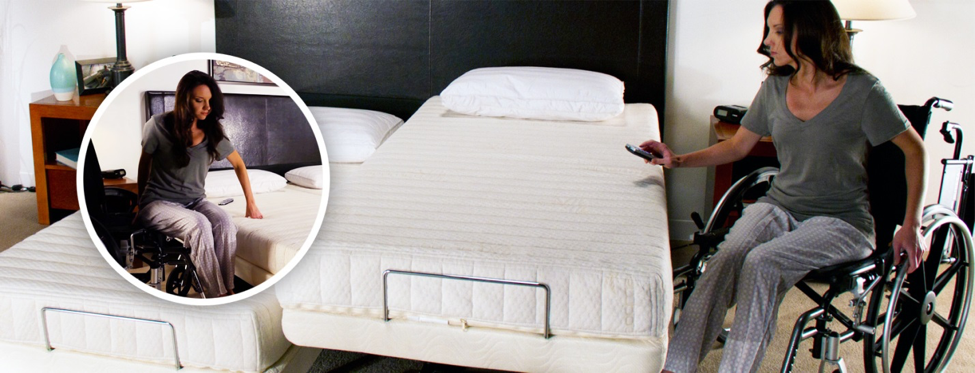
- the position of the wheelchair during transfers;
- the space required for the lift; and,
- the space required for the lift base under the bed.
The wheels of the bed should remain on the carpet to prevent the bed from sliding on the floating floor. In this case, we calculated an area approximately 8’x11’.
Step 2: Laying the first row of flooring.
Special consideration needs to be given to the tongue and groove connections on the sides and ends. You also need to stagger the board junctions of each row so you don’t have adjoining rows with the same joints. We were able to prefabricate the floor in the garage and precut all the boards.
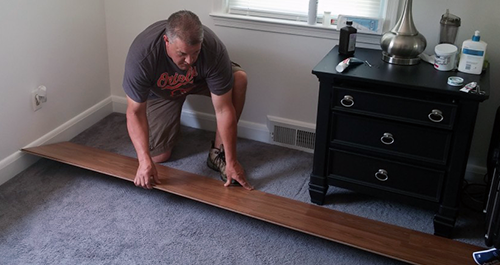
Install the first row of wheelchair accessible flooring.
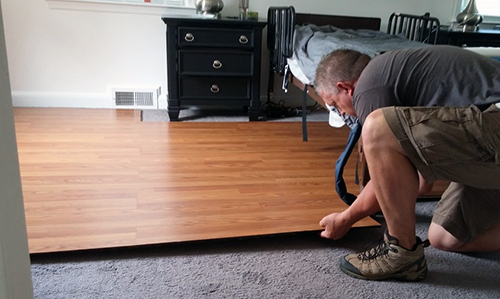
Step 3: Transfer the layout
Disassemble the layout several boards at a time to transfer to the room where the floor is to be installed. Limit the transfer to only a few boards at a time so as not to confuse the board configuration.
Step 4: Lay and glue the boards together.
Normally, a floating laminate floor does not require any glue to remain stable; the walls of the room keep the planks secure. Since the flooring is not installed over the entire floor and is placed on top of a soft surface, the boards require glue to prevent them from coming apart over time. Common wood glue is all that is required.
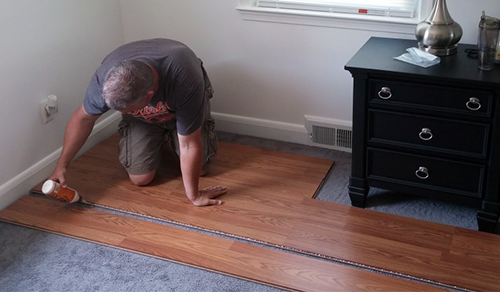
The glue will cure in a short amount of time and, with the tongue and groove connections, the floor becomes one “floor” sitting on top of the carpet.
Step 5: Secure the floor
To further preserve the position of the floating laminate floor, one or two small finishing nails driven through the flooring at the corners will provide a semi-permanent anchor system. The finishing nails are small and can be removed without damage to the carpet.
When the floor was complete, the caregiver tested the ability to execute a bed-to-wheelchair transfer, employing one of the installers in the lift. The caregiver successfully, and with significantly reduced difficulty, completed the transfer from bed to wheelchair and back. So pleased with the immediate improvement, the caregiver exclaimed, “This is awesome. It is so easy now.”
This solution is not ideal for long-term use but will work as a temporary measure when needed. The materials for this 8’ x 11’ floor amounted to $131. With four man-hours required to complete the project, two men working two hours, a handyman would likely charge about $500 for a similar floor. Considering the alternative – removing the carpet, installing wheelchair accessible floor covering, reinstalling the carpet at the end of lease, negotiating with and appeasing the landlord with acceptable solutions – $500 is less expensive and is money well spent.

1 Comment
Lauran · February 7, 2021 at 8:18 pm
Excellent article- thank you! Would this flooring work for 2 years? Also, who would we get to help put it in?